
- It'd be a good idea to check out this thread on maintaining an avatar/art thread when you're ready to set up shop!
HOW TO MAKE PIXEL AVATARS
![[User Posted Image]](http://i1198.photobucket.com/albums/aa458/dragonweyrz/iaza19731150122900_zpsf06370d0.jpg?t=1372288576)
I like to start out with my pixeled avatars on a 50x50 transparent canvas. I also like to adjust the window so that it can go side-by-side with my character reference. You don't have to have a program with layers, you can just use Paint, but it's a lot easier with them. When creating pixel avatars, you'll mainly be using the pencil tool, paint bucket, and eraser if you need it. Make sure that your pencil tool is the smallest size possible, 0.01.
Do not directly copy your references unless it's strictly for practice purposes and not for showing off. It's not entirely your own art, it can be considered stealing, and I could just go on on this for hours... don't do it! o_o
![[User Posted Image]](http://i1198.photobucket.com/albums/aa458/dragonweyrz/iaza19731162600100_zps1f6c4002.jpg?t=1372289116)
Now draw yourself a sketch (no matter how rough!) in any color that's easy for you to see. (If you want to give yourself a temporary colored background so you can see, do so!) Don't use a black sketch, because when you go over it for the actual picture, you won't be able to tell the difference between sketch and lines.
Pop Fizz likes to shake up his beakers to get different mixtures! If you can't tell what he's doing, he's shaking it up x'D
Now, create a new layer and make sure that it's above your sketch layer! If you accidentally draw on your sketch layer - it is fixable by going to Layer > Transparency > Color to Alpha (and select whatever color your sketch is). Grab your pencil tool if it's not already selected and make it black (or choose a different dark color if you want to have colored lineart, though you could just Lock the layer and color over it directly once you're done). Don't pixel just yet, read the below info VV
- If you're new to pixeling, consider checking out some tutorials first. It's not as easy as just drawing with the tools! This tutorial should be helpful.
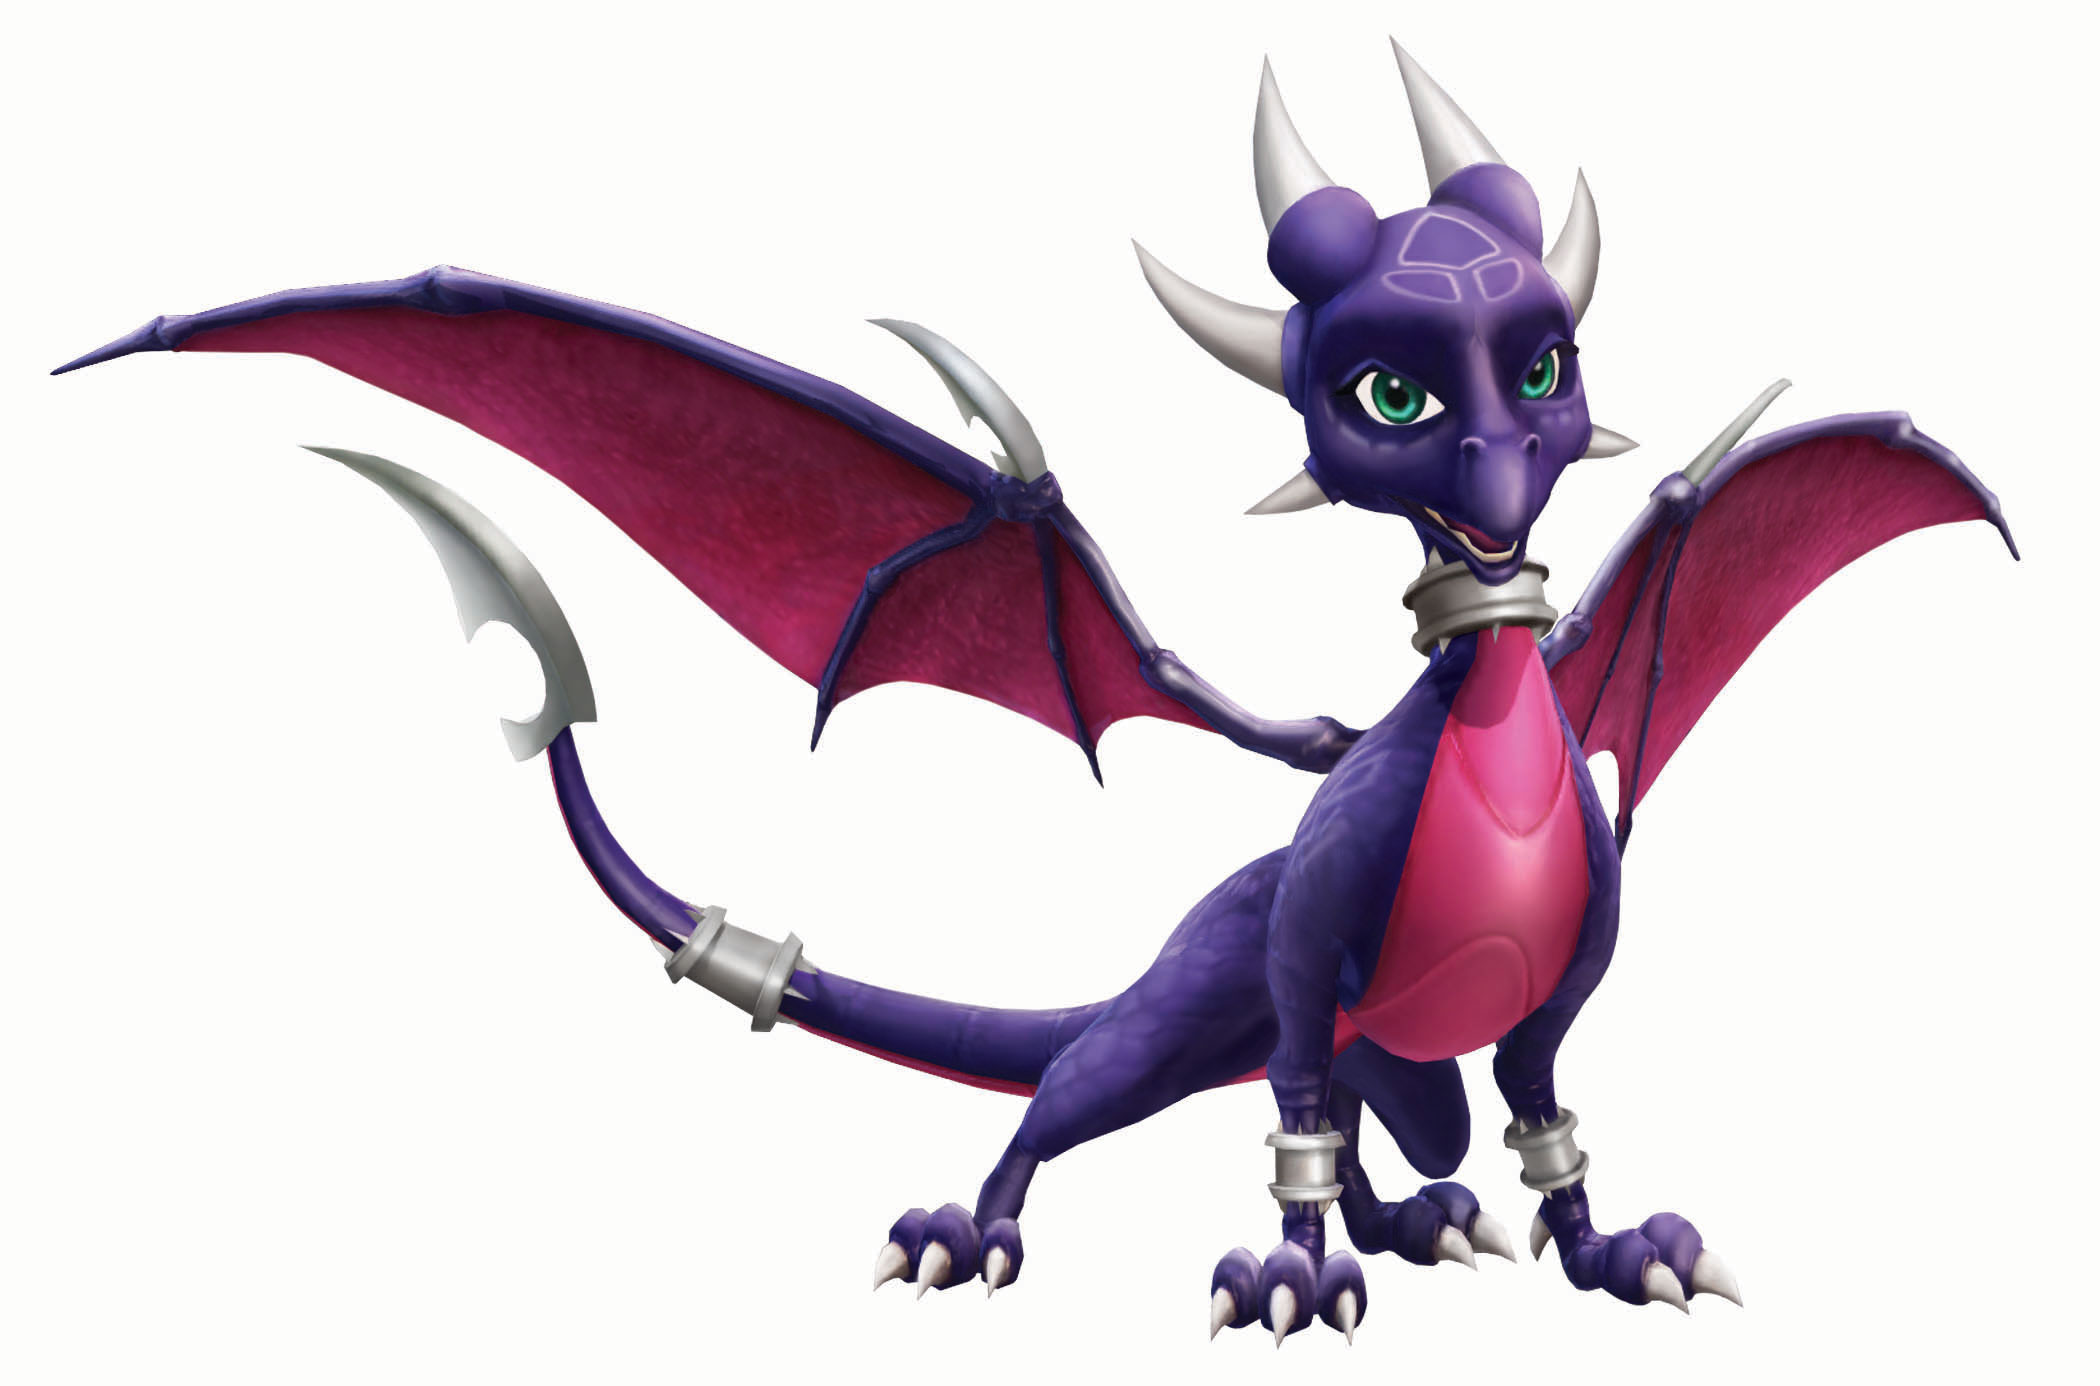
Also, if you're going to have different parts move, it might be a good idea to draw those on a separate layer. For example, Terrafin's body, arms, and legs were on separate layers. Hotdog's head, tail, and body were on separate layers. Dark Spyro and Sheila were drawn on one layer, but I'll talk about animating these later. Thumpback was drawn on one layer, and the water on another. Corrupt Cynder was one layer.
![[User Posted Image]](http://fc06.deviantart.net/fs70/f/2013/175/8/2/terrafin_by_pepper_head-d6ah5bu.gif)
![[User Posted Image]](http://fc05.deviantart.net/fs71/f/2013/175/b/5/hotdog_by_pepper_head-d6ahgnv.gif)
![[User Posted Image]](http://fc01.deviantart.net/fs70/f/2013/175/2/4/darkspyro_by_pepper_head-d6ais8s.gif)
![[User Posted Image]](http://fc00.deviantart.net/fs71/f/2013/177/9/9/sheila_by_pepper_head-d6aqn7y.gif)
![[User Posted Image]](http://fc05.deviantart.net/fs71/f/2013/177/e/9/thumpback_by_pepper_head-d6aqhq8.gif)
![[User Posted Image]](http://fc01.deviantart.net/fs71/f/2013/176/c/a/cynder_by_pepper_head-d6anv75.gif)
Now you may start pixeling! Your sketch isn't set in stone, so feel free to change things.
![[User Posted Image]](http://www.iaza.com/work/130627C/iaza19731145353500.jpg)
See the different layers? You'll need to color them all on their own layer.
I went ahead and added shading as well. I like to shade on different layers, especially since I'll be doing a Punch Pop Fizz recolor, and it just makes it easier! Layers are beautiful things - research them if you don't know about em!
![[User Posted Image]](http://i1198.photobucket.com/albums/aa458/dragonweyrz/iaza19731153202700_zps0769b427.jpg?t=1372294974)
![[User Posted Image]](http://i.snag.gy/0Lgu9.jpg)
Now it's time to put things all together!
"Frames" are individual pictures in a sequence of pictures that make up the animation. Save each frame as a different image. (Ex: 1.gif, 2.gif, 3.gif.... or even PopArmUp.gif, PopArmMid.gif, and PopArmDown.gif) Never ever EVER save as .jpg!
Do NOT Save as an animation, save as "merge visible layers"!!! It might work in other programs like Photoshop, but saving as an animation in GIMP will NOT turn out right unless you have a colored background! You also can't customize the speed, or frames per second.
- If you're simply translating (moving a layer up, down, or to the side), you'll want to make duplicates of layers (right click, duplicate layer) until you have the amount you need. Simply move each layer a pixel or two in the direction you want them to go. It's kinda hard to put into words... One layer makes it move once or twice, the next layer makes it move again, etc. The more pixels you move it across, the faster the animation will go. Generally the more transition frames (or inbetween frames) you have, the smoother the animation will be.
It's okay if you have to do a little touchup to the pixels!
- If you're going to do one like Dark Spyro, you'll basically be creating a duplicate layer of the one layer you have. You'll move the top layer down a pixel or two. Notice how you can still see the Spyro below's lines and it makes this Spyro look kinda thick. Click the bottom layer, grab an eraser, and erase all of the extra pixels so that you basically just have the feet and legs left. On the top layer, erase the feet so that the bottom layer's feet show. This will make it look as though he squatted a little. If you have to do a little pixel touchup, that's okay!
Finally time for the magic! I like to animate at Iaza.com. Upload your starting frame. Exactly under the third column, 'Mix', select Frame Animation. Upload your frames!
For avatars, you'll want to upload them so that they can "loop", meaning they'll repeat again and again and again. And again. So when you upload your files: 1, 2, 3, 4, 5. You'll also need them to count back down to whatever number (so after 5 you'd go 4, 3, 2, and stop there since 1 will already be the first frame) so that they don't jump awkwardly from end to beginning unless your ending frame was *meant* to transition back to 1. Feel free to play around so you see what I mean... : D
Now what I like about Iaza is that you can choose your frame speed and frames, and it'll give you a preview. If you don't like it, you can change it around! Experiment : D Just make sure you save and upload your final creation to another image hosting site, since Iaza deletes images after 90 days.
The first is with all three frames. See how smooth it looks (not the smoothest in the world but still)? The second one only has two frames, and while it's faster, it looks a little jagged. The best one is up to personal preference, I think. I like the second one better x'D
![[User Posted Image]](http://fc06.deviantart.net/fs71/f/2013/177/c/8/pop3_by_chocodopts-d6atnis.gif)
![[User Posted Image]](http://fc04.deviantart.net/fs71/f/2013/177/3/c/pop2_by_chocodopts-d6atniw.gif)
Go forth - make avatars!
I hope this tutorial was helpful! I'm kinda tired so it might be kinda confusing, so feel free to ask questions ;x; If you didn't like your first attempt, no worries! It comes with practice


![[User Posted Image]](http://fc07.deviantart.net/fs71/f/2013/071/0/f/stuck_a_feather_dragon_in_her_cap____by_pepper_head-d5xt6nk.gif)

 What program do you use?
 darkspyro
 net
net